Your First Node.js CLI App
You can automate a lot of your work by building small automation tools. These tools are usually built-in bash script but you can also use JavaScript, to be specific Node.js. Let’s take a look at how you can develop a small Node.js-based CLI. I will also show you how you can then publish it on npm.
I am going to build a name CLI that if someone runs via npx, they can get information about me.
Let’s do it in steps to make it easier.
→ STEP #1
First of all, you need to sign up on GitHub if you haven’t already. Then go to repo.new and create a repository by your name which in my case is awais.
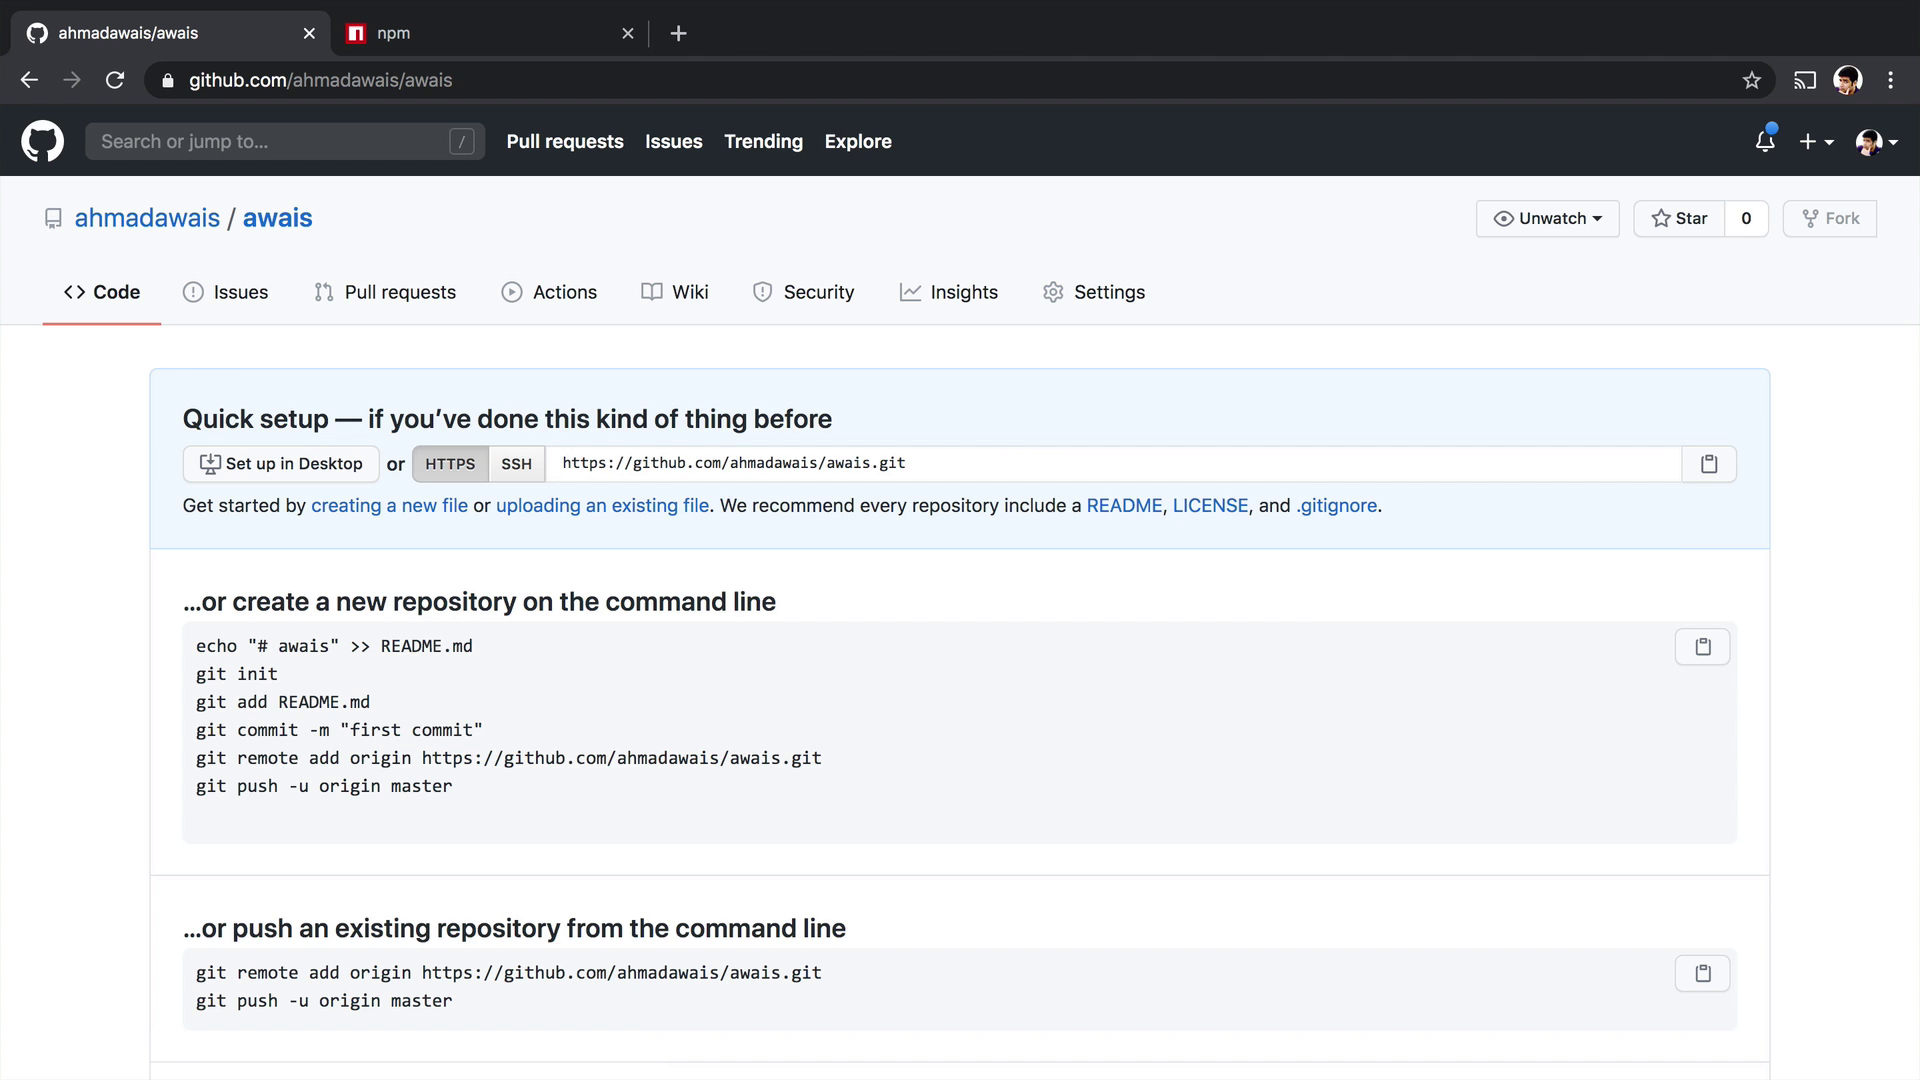
Now I am going to clone this repository & open it in my code editor which is VSCode.
→ STEP #2
Now you need to sign up on npmjs.com. You can either sign up from their website or you can do it via terminal. Just type the following command in your terminal & press Enter.
npm adduserNow answer all the questions ahead & once you are done, make sure you verify your email.
→ STEP #3
Now create an index.js file at the root of your project. This file is going to be the main entry point of your CLI. Add the following piece of code at the top of your index.js file.
#!/usr/bin/env nodeThis statement is going to tell our terminal to always run this file with Node.js.
Also, add the following in this index.js file after the above statement.
console.log(`Ahmad AwaisBIOTwitter: TWITTER HANDLERGitHub: GITHUB LINKBlog: Blog Link`);→ STEP #4
Now create a package.json file in your project. Make sure it is in the root directory. And now paste the following in your package.json.
{ "name": "awais", "version": "1.0.0", "bin": { "awais": "index.js", }}So this package.json file is storing metadata of our CLI like its name, version, bin, etc. Make sure that you always use the Kebab case in the name field.
The bin field is used to register a particular command against a file. For instance, I have used awais which if I run will execute this index.js file which is the main entry point of my CLI. You can add as many commands as you like.
→ STEP #5
Now type in the following command in your terminal.
npm linkThis shell command is creating a local link to this folder. It is installing your package in your computer. Now type if I type in awais, I can execute my index.js file.
→ STEP #6
Now commit your changes to GitHub. For that, run the following commands one by one.
# staging all filesgit add .# committing the codegit commit -m "first version"# pushing to GitHubgit push origin master→ STEP #7
Now to publish this CLI to npmjs, type in the following command in your terminal.
npm publishNow your CLI has been published and is ready to use via npx
Wrapping Up
By following these simple steps, you can easily create a fully functional Node.js-based CLI. You can then open-source it so that the whole developer community can use your product.