Node Module Testing – Part #2
This is a six articles series for building and publishing a node module from scratch. You can find all these articles below:
- Code A Node Module – Part #1
- Node Module Testing – Part #2
- Refactoring a Node Module – Part #3
- Node Module Testing – Part #4
- Node Module Naming – Part #5
- Publish a Node Module – Part #6
In the last piece, I showed you how you can write easily write a node module. In just six steps, I created a node module called cli-alerts. In this piece, I am going to test my code to see if everything is working perfectly.
Testing With test.js
If you have followed along so far, you would know that I created a test.js file specifically to test the node module. The code inside it looks something like this:
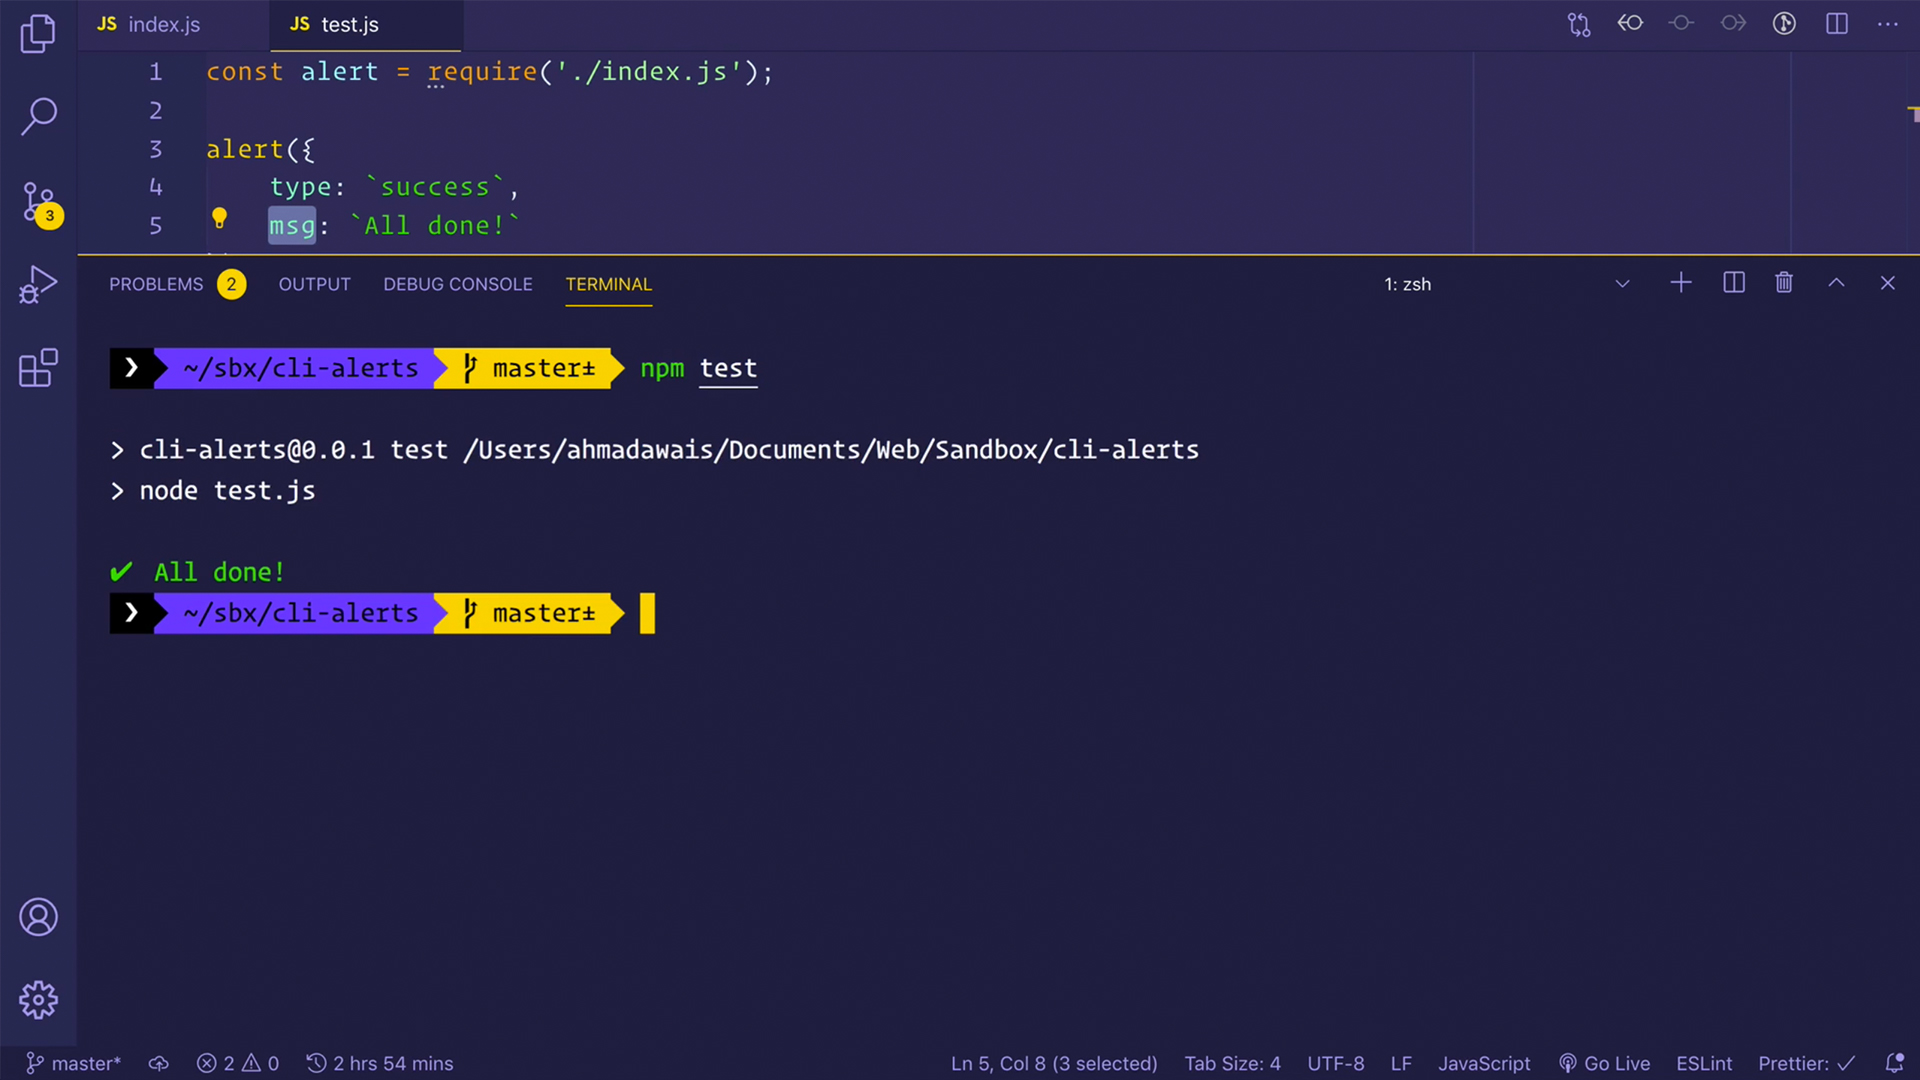
const alert = require('./index');alert({ type: `success`, msg: `All done!`})Now I am going to test my node module by running the following command in my terminal:
npm testAnd it is working. You can see in the image below that I am getting an alert message with the options I have given.
Let's remove the object that I am providing to the alert function like this:
const alert = require('./index');alert()I am going to test it again with npm test. And this is what I got:
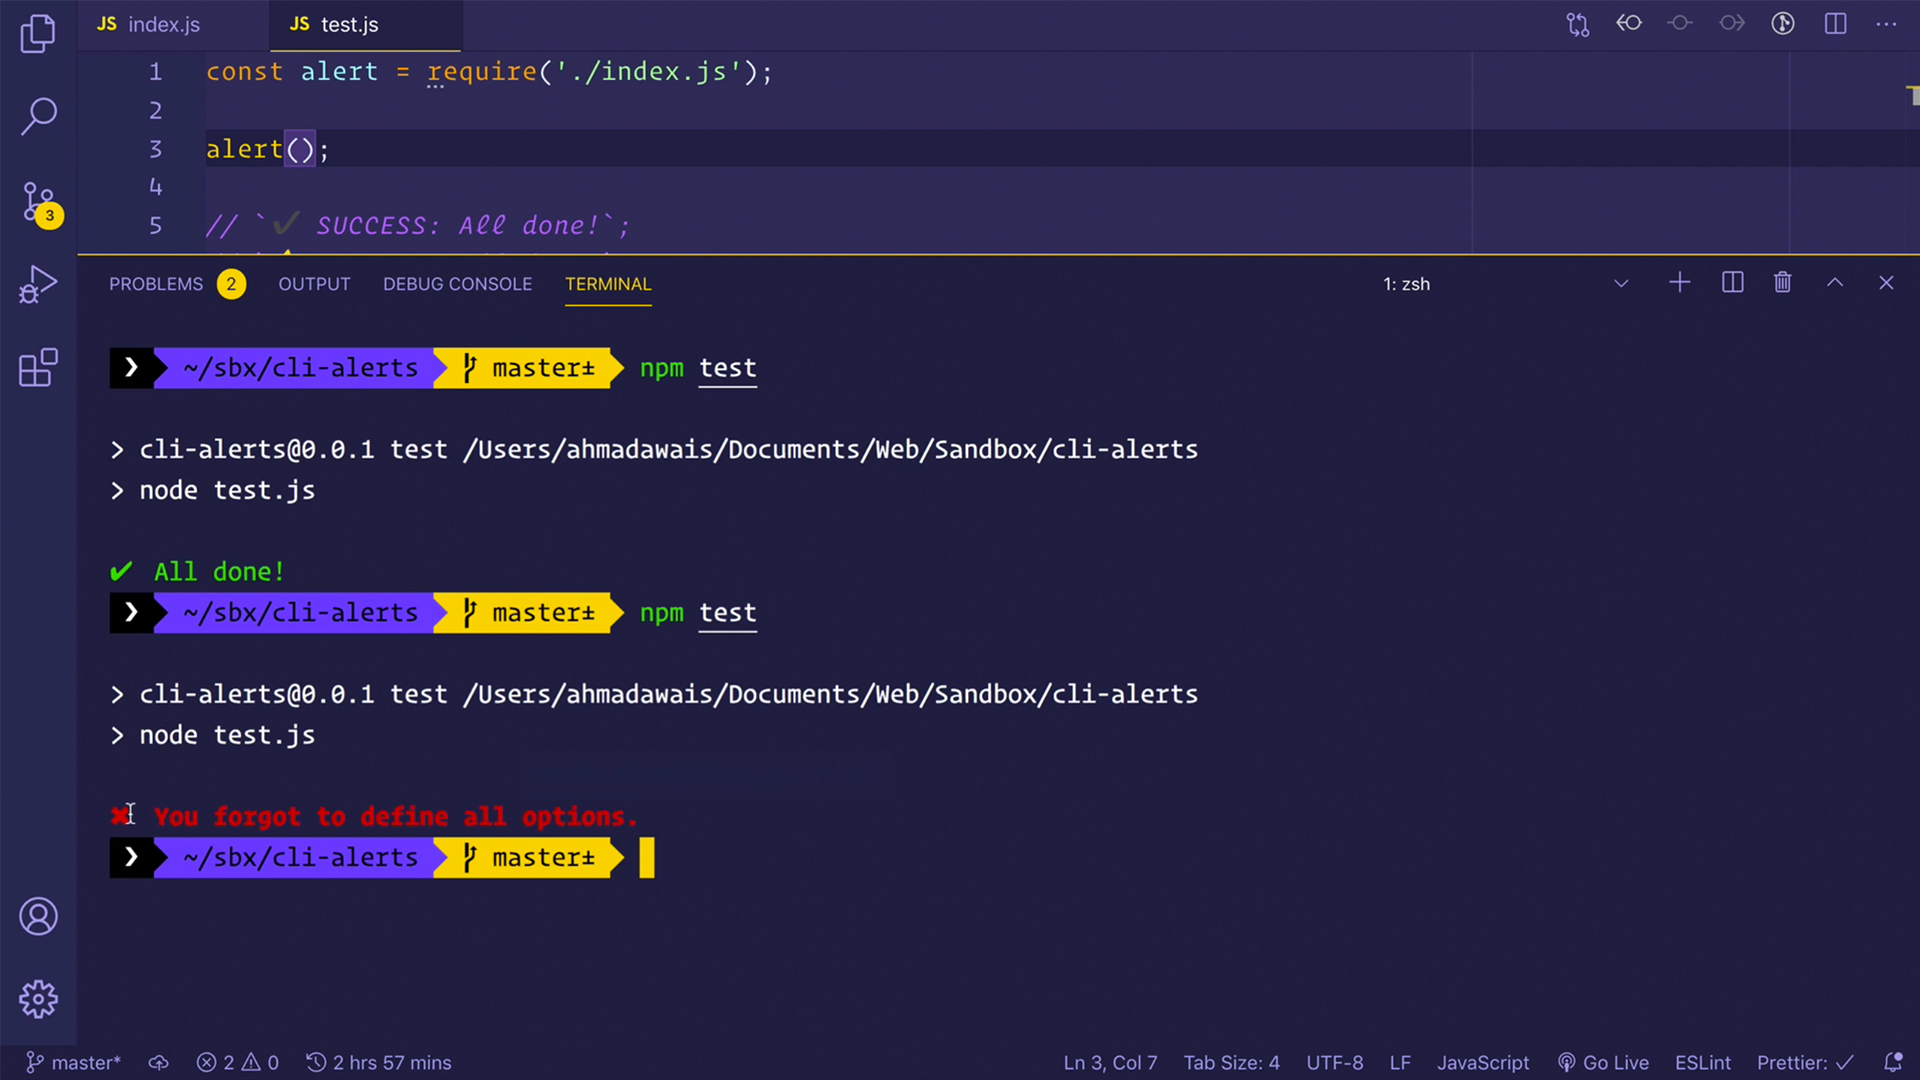
The default object that I created in my index.js file is printing on the console because I didn't provide any new object.
Wrapping Up
So this is how you can locally test your node module. Instead of my code, you will have your own code in index.js file which you will test before publishing to the npmjs repository.